Your GymID device ready in 4 steps
No major refit, no IT project: you mount it and connect power and internet, your electrician connects the door or turnstile – we take care of the complete setup remotely.
What you need on site
Power
A socket or power line nearby. The power supply is included.
Internet
We recommend a LAN cable. Wi-Fi with WPA2 is optional.
Door or turnstile
An electrically controllable entrance – your electrician connects it to the GymID device. If something is missing, we can supply suitable hardware.
Four steps to the first check-in
Receive the parcel
Accept the parcel, unpack it – and off you go. Everything you need is included, with illustrated instructions.
Prepare the installation
Make sure there is power and an internet connection at the mounting spot.
Mount the GymID device
Depending on where it’s used, you get the matching variant – mounted in just a few moves.
- Sits on a slim arm – ideal right at the turnstile or drinks station.
- Bracket and instructions included.
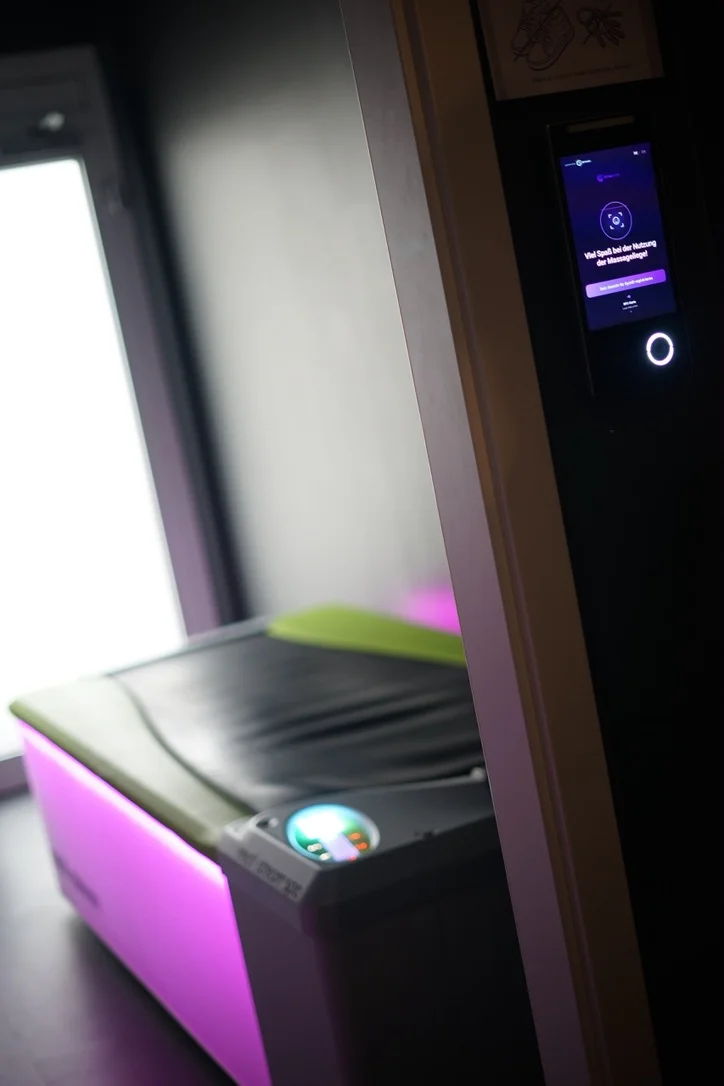
- Mounted flat on the wall – ideal next to the solarium, massage bed or snack machine.
- Bracket and instructions included.
Connect and switch on
Connect power and internet; your electrician connects the door or turnstile. After switching on, the GymID device connects automatically.
We take care of the rest
As soon as your GymID device is online, we set everything up remotely and tailor it to your gym. Nothing else to do for you.
Questions about installation?
Our support is happy to help.
gymid@gymedge.de